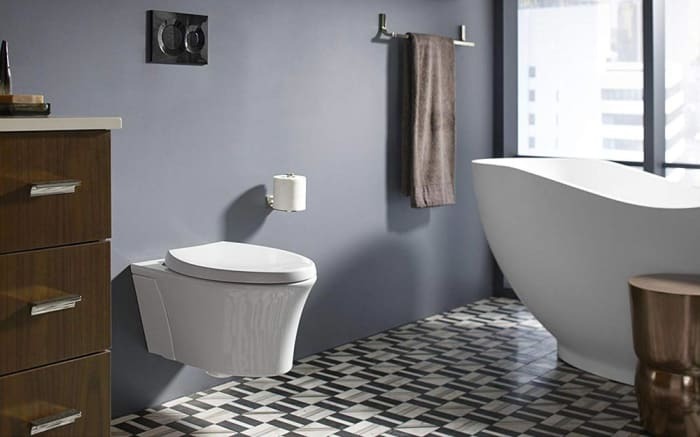

What is a Wall-Hung Toilet?
Table of Contents
A wall hung toilet can either be a mounted toilet which is secured to the floor while the plumbing is connected through the floor, it can also mean that the toilet is hung on the wall with its cistern being installed in the wall cavity or the wall mounted toilet with some or all of the plumbing connected through the floor.
Contrary to most of the standard toilets which are mounted on the floor, wall-hung is different as the name suggests. In this article, you’re going to from seven steps that you need to follow when you want to install a wall-hung toilet.
1. Framing of the wall
This should be the first step in the installation of a wall hung-toilet. First, you should consider the height that you desire to hang your toilet. Make adjustments to the feet of the bracket to match with the height.
The good thing about framing is that you can put the toilet anywhere irrespective of the space that is available in the room. An important point though is to ensure that the waste pipe is not far from that in your bath. This will ensure that you cut on expenses of purchasing a longer pipe. That shouldn’t be a big concern anyway, focus on the best place you can install the toilet.
2. Mounting of holes on the frame
After framing, what follows is the mounting of holes in the frame. In addition, mount holes on the floor as well.
What can you use to mount these holes? Find a driller that can make holes that is compatible with your toilet. You can measure the size and decide on the fitting size. Also, ensure that the bracket is level with these holes.

3. Waste pipe attachment
This procedure isn’t rocket science. It’s quite simple. All you need is to attach the waste pipe with the sewer.
However, be sure to ensure that the pipe is attached in such a way that it isn’t visible. This will not only protect your space but also make your bathroom appealing.
4. Installation of the toilet tank
A toilet tank can either come when it’s already pre-installed into the tank or otherwise. If in case your tank isn’t, place a floating valve and connect with angle valve (stopping valve).
Thereafter, install the tank and begin testing how effective it is. You can put a bucket below the tank while doing the test to prevent water from filling all over the place. It will also enable you to refill the tank once the water is emptied from the tank.
5. Mounting of the toilet bowl
Using screws that were in accompaniment with the toilet seat, insert them into the frame and then mount the toilet bowl. After which you’ll connect the toilet pipe with the waste pipe.
Another thing is to connect the flush pipe with other tubes that supply the water. You can test the effectiveness by flushing the toilet a couple of times. If you experience any inconveniences, try re-connecting until the toilet flushes well.
6. Cover the frame
If you’ve tried flushing and found out that everything is working really well, it’s time to remove the frame.
First, remove the toilet bowl.
Then secondly, go ahead by covering the frame. You can use either waterproof plywood (should be a minimum 18mm), concrete blocks or green board.
Thirdly, the final step uses a jigsaw by cutting the openings that you’ve already made using screws and flush panel in this particular structure. You can use tiles to decorate the covered frame.
7. Mounting of the toilet bowl
Attach screws to the frame and then mount the toilet bowl. You can use nuts and other washers that are supplied with it.
CAUTION: Should be observed while tightening the nuts to avoid breaking the toilet. It’s recommended that it’s moderately done. Don’t forget to apply silicon between the wall and the toilet after doing all this.
On top of that, be sure to attach a panel on the casting to make your toilet looking awesome and durable.
The installation of wall-toilet will also be dependent on the external features which should determine the style to be used in wall hung toilets. In the case where the toilet has a flush handle, the handle will be located separately in the recess.
Wall-Hung Toilet Installation Guide on YouTube
Bottom Line
On the other hand, if it’s a push model, it should close to the wall like the flash model. Push model can either come in the form of stainless or white steel. However, you should be informed that the designers have the freedom to make their choice on how best they can fix these toilets.
The challenge with these toilets is that installation can be a heck when it comes to installation and costly. It can cost you more than the standard ones.
Despite that, it has some advantages: wall hung toilet takes less space in your bathroom hence giving your room the modern appearance. This is contrary to standard toilets, which are easy to install but take a lot of space.