
Do you have an old or broken faucet at home that needs replacing but you prefer not to spend extra on a plumber?
No need to worry as this is a job I’ve personally done over the years and can show you how you can also do it by yourself. Replacing a bathroom faucet that is broken or outdated can be a very simple and inexpensive project if done correctly.
It is a process that should take no less than one hour (I normally do it in about 15-20 minutes) and only requires a bucket and a wrench or spanner. However, if done incorrectly, it could end up wasting more time and money in the long run.
This should not worry you though as I will guide you on how to replace bath faucet, which should be easy even for you even if it’s your first time.
How to Replace a Bath Faucet
Table of Contents
Identification
Normally, there are 3 main types of faucets which you can find: the single-hole, the 4-inch triple hole, and the 8-inch triple hole. The single-hole faucet has the center controller operating as the mixing valve and the spout.
In both the 4-inch and 8-inch triple faucet types, the center controller is normally just the spout and the mixing valves can be either 4 or 8 inches from the middle on each side.
You can install the faucet either to the sink or to the countertop depending on your situation. Therefore, when you are replacing the faucet, you can simply choose to change the type of faucet in use. If you are using a new faucet instead, get one that matches the one that you already have.
Assembly
Once you have identified and picked out the right faucet you intend to replace, put together everything that you will need. Additionally, make sure that you double check everything is there in order to avoid any other unnecessary trips back to the store. Pay close attention to the fittings located at the end of your new faucet against your water line extensions.
You can also take this opportunity to replace any flexible lines and choose a set that has a feature to shut off automatically in the event of a leak. If the sink drain also needs replacing, check the setup of the P-trap in case you require any new extensions or O-rings.
Taking out Old Faucet and Hardware Attached to It
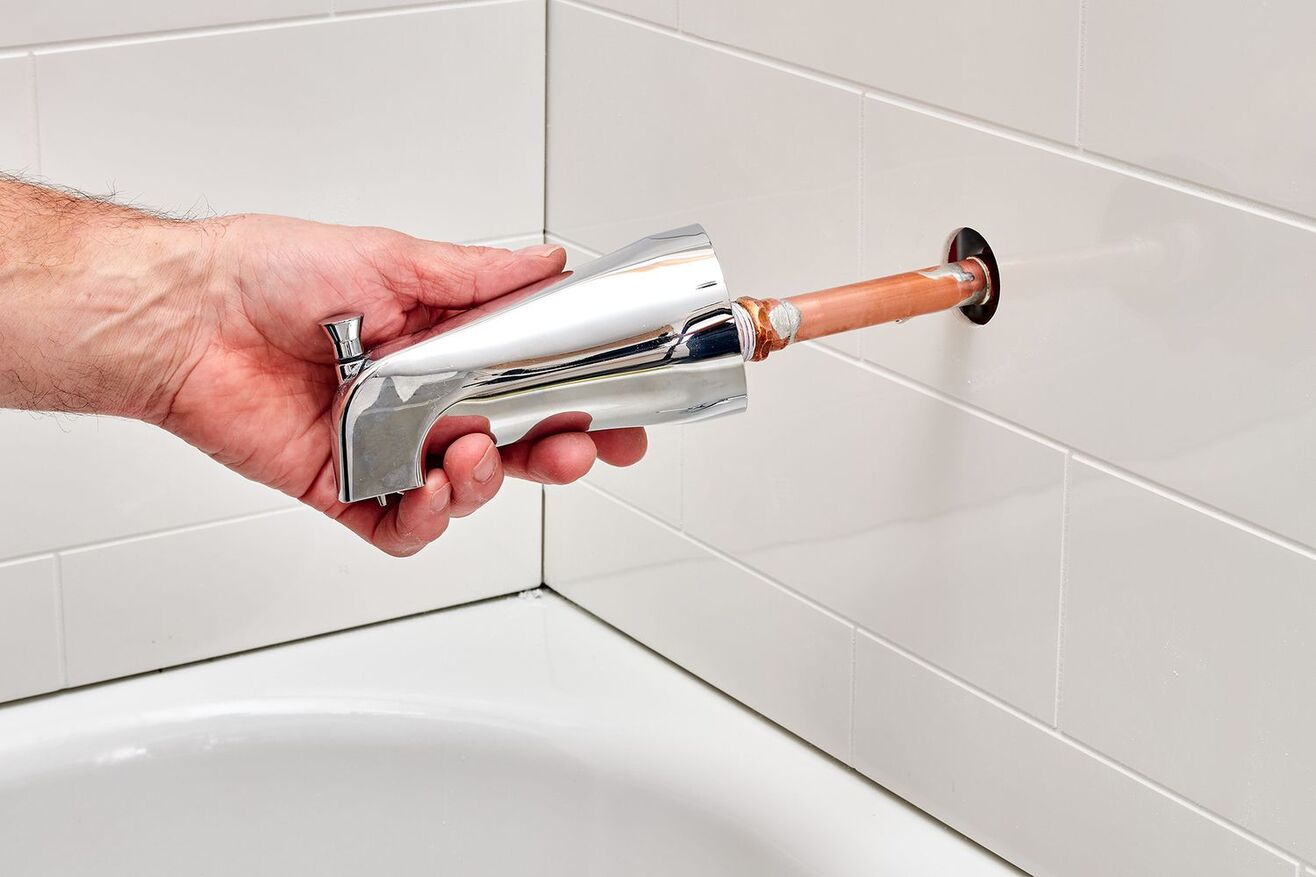
When taking out an outdated or damaged faucet, begin by shutting the wall valves off and then turn on the faucet to drain down any residual pressure.
Use a wrench or spanner to loosen the flexible extension and remove it from the faucet. Next, drain any remaining water into a bucket and then take out the line from the shut-off valve. Washers and nuts are typically the hardware used to secure a faucet and are located under the sink.
Make sure that you take out all hardware connected to the faucet and this also includes the bolt at the rod of the drain extension. After all the hardware attached to the faucet is out, you can now gently take out the faucet from the top.
Installation
Before you begin installing your new faucet, ensure that you refer to the installation manual that came with the faucet. In my experience, most faucets tend to differ greatly depending on the manufacturer.
The installation process that I will show you here is generally applicable to most of the faucets used today but may require some adjustments depending on what setup you have. Generally, you should have a spout, countertop or sink, a gasket or a plumber’s putty, a nut for mounting, and a saddle or large washer.

In this case, I am using the example of a plumber’s putty as this is more commonly. If this is your first time hearing of a plumber’s putty, simply imagine working with grey modeling clay. Take out a small lump of the putty in your hand and then roll it until it forms into a 1/4-inch diameter rope.
Apply the putty around the spout’s base area to prevent any water from splashing into the cabinet. Once this is complete, begin installing the spout and then make sure that the mounting nut holds tight.
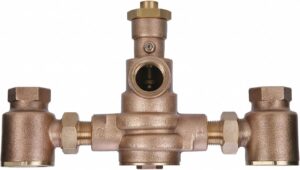
Assembling the Mixing Valves
If the faucet you are using is the single-hole type, you can skip this step. Start by assembling both the cold and hot mixing valves. In most cases, nuts and washers secure the valve while a C-clip and a large washer hold it firmly at the top.
If you are going to use a plumber’s putty, apply it to the lower part of the washer. Finally, make sure that the C-clip installation is complete, and the nut holds firmly from below the sink.
Threading the Trim
In order to install the top trims of most faucet types, you will need to thread the trim into the mixing valves first. The alignment of the handle should be done properly in off mode before you begin the trim threading process.
Next, ensure that the hooking of the water lines takes place from below the sink. If you are lucky, your faucet will include easy snap-end fittings that will allow you to do this quickly. If it uses the threaded NPT ones instead, use a plumber’s tape on any joints that don’t require a gasket seal or rubber.
Finally, begin installing the extensions for the water line to the mixing valves and shut off.
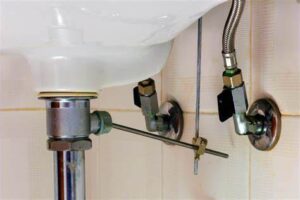
Re-installing the Drain Rod
Lastly, re-install the rod for draining and then tighten the clamping bolt. Check the fitting installation completely and then proceed to turn on the shut-off valves.
Look around the entire installation for any leaks and if everything is in order, test the faucet installation for a few minutes. I remember this one time I was so happy to be finished and didn’t do a proper check which led to a leaky valve. I ended up re-installing the entire faucet again in a few days. Don’t do the same mistake as me.
Conclusion
In my experience, most faucets tend to last for quite a while before they require replacing. However, some may need replacing sooner when newer models that are more efficient come up.
If you follow the above steps I’ve shown you on how to replace bath faucet, you’ll soon understand that the entire process can be a quick and very rewarding project when done right.
Additionally, if you get a faucet that comes with separate trims and mixing valves, the replacement process will be much easier.
You Might Like To Read:
Best Soaking Tubs
Best Steam Shower
Best Composting Toilet
Best American Standard Toilet